Neos Google Analytics dev-master Documentation
This is the documentation for the Google Analytics integration into Neos, a free enterprise web content management system licensed under the GPL.
This version of the documentation covering dev-master has been rendered at: Aug 19, 2020
Installation
The package can be installed via composer:
composer require typo3/neos-googleanalytics
Configuration
Statistics display inside Neos
Configuration requires some setup on the side of Google, before the package can be used. In a nutshell:
- Log in to the Google Developers Console
- Set up the Consent screen
- Create a web application Client ID
- Create a public access Server key
- Enable the Analytics API
- Configure the Google Analytics Neos integration using the created credentials
- Connect Neos instance and Google Account
The steps in detail
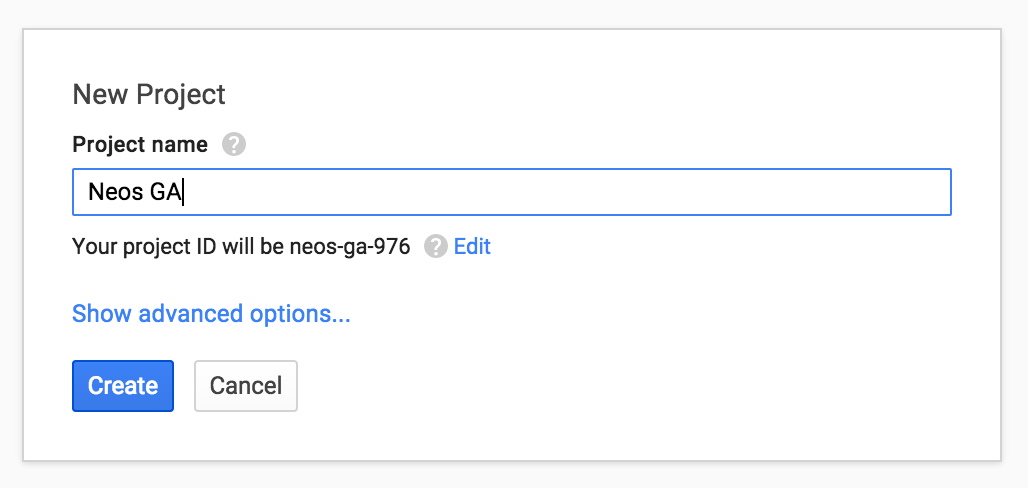
Go to the Google Developers Console and create a project. This is needed to create the API credentials and keys for the Analytics integration. The project name can be chosen freely and doesn’t really matter, as you will probably be the only one to ever see it.
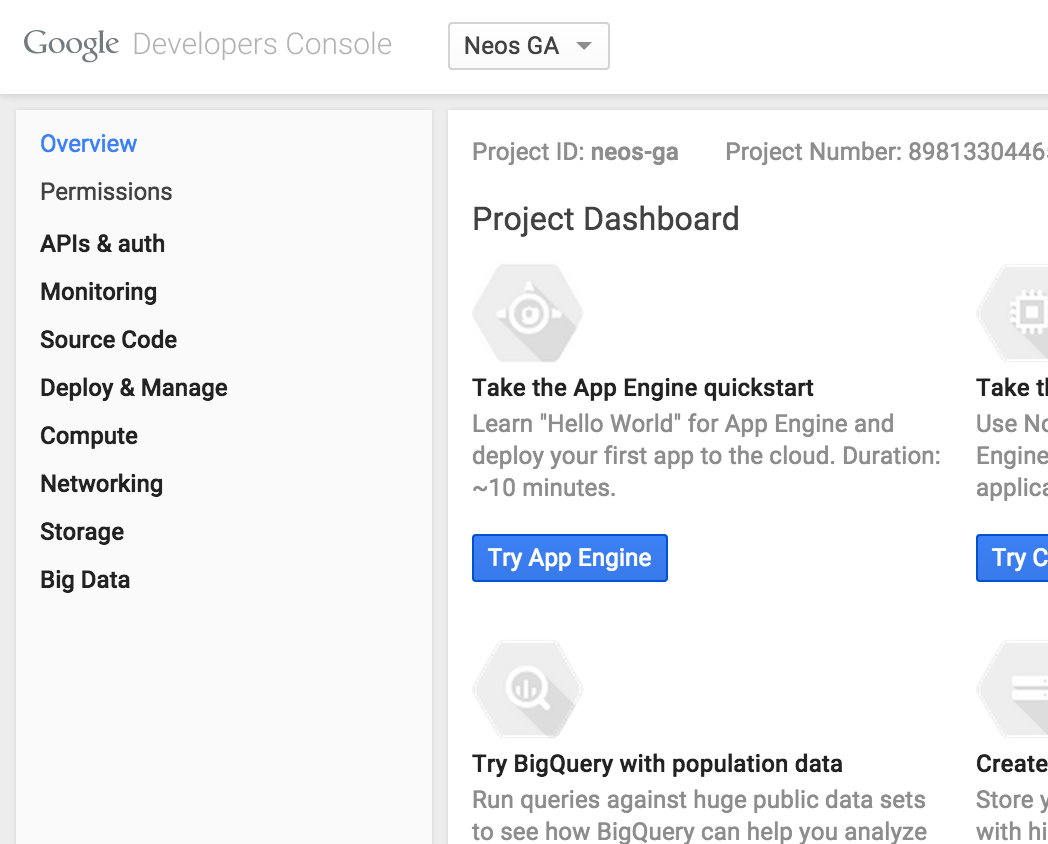
After the project has been created, you end up in the dashboard of the new project.
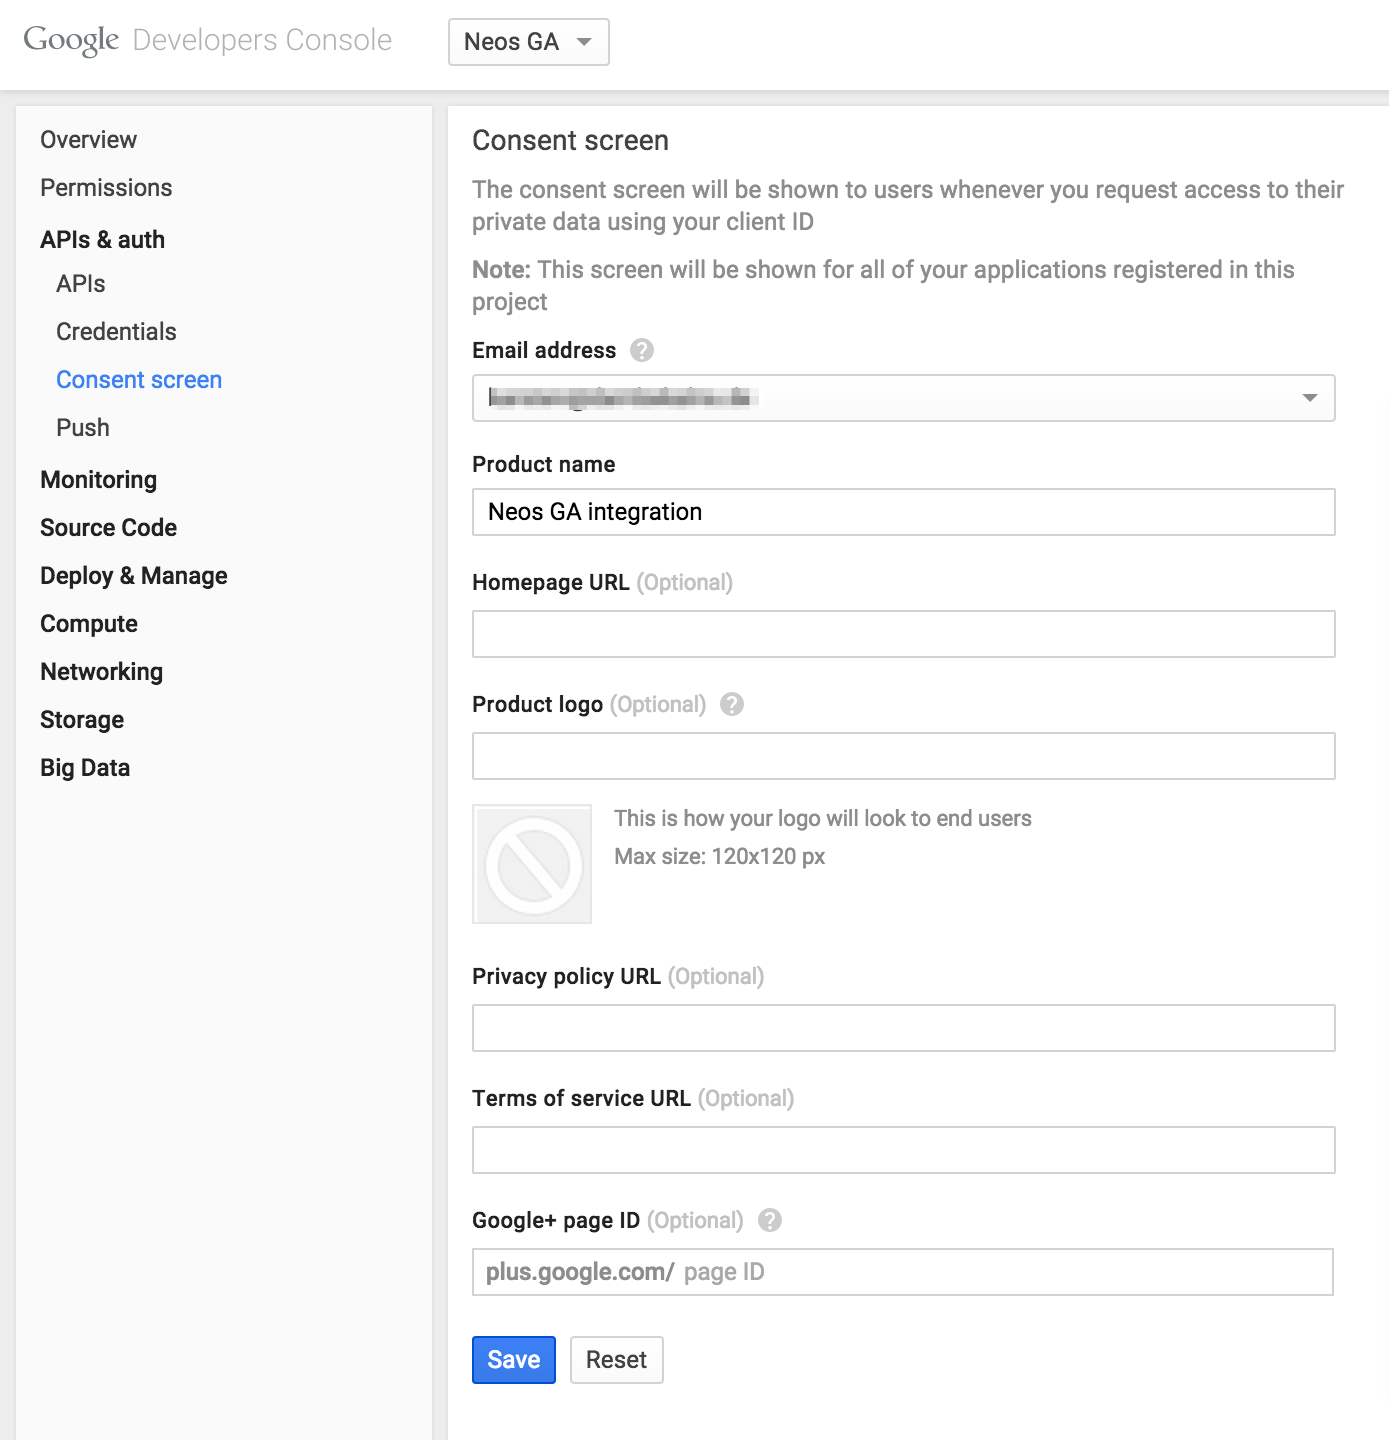
The next step is to set up the Consent screen. Click on APIs & auth and then Consent screen, select an email address and fill in the project name. Again, this screen will probably only be shown to you, so don’t think too hard about it. All other values in the screen are optional.
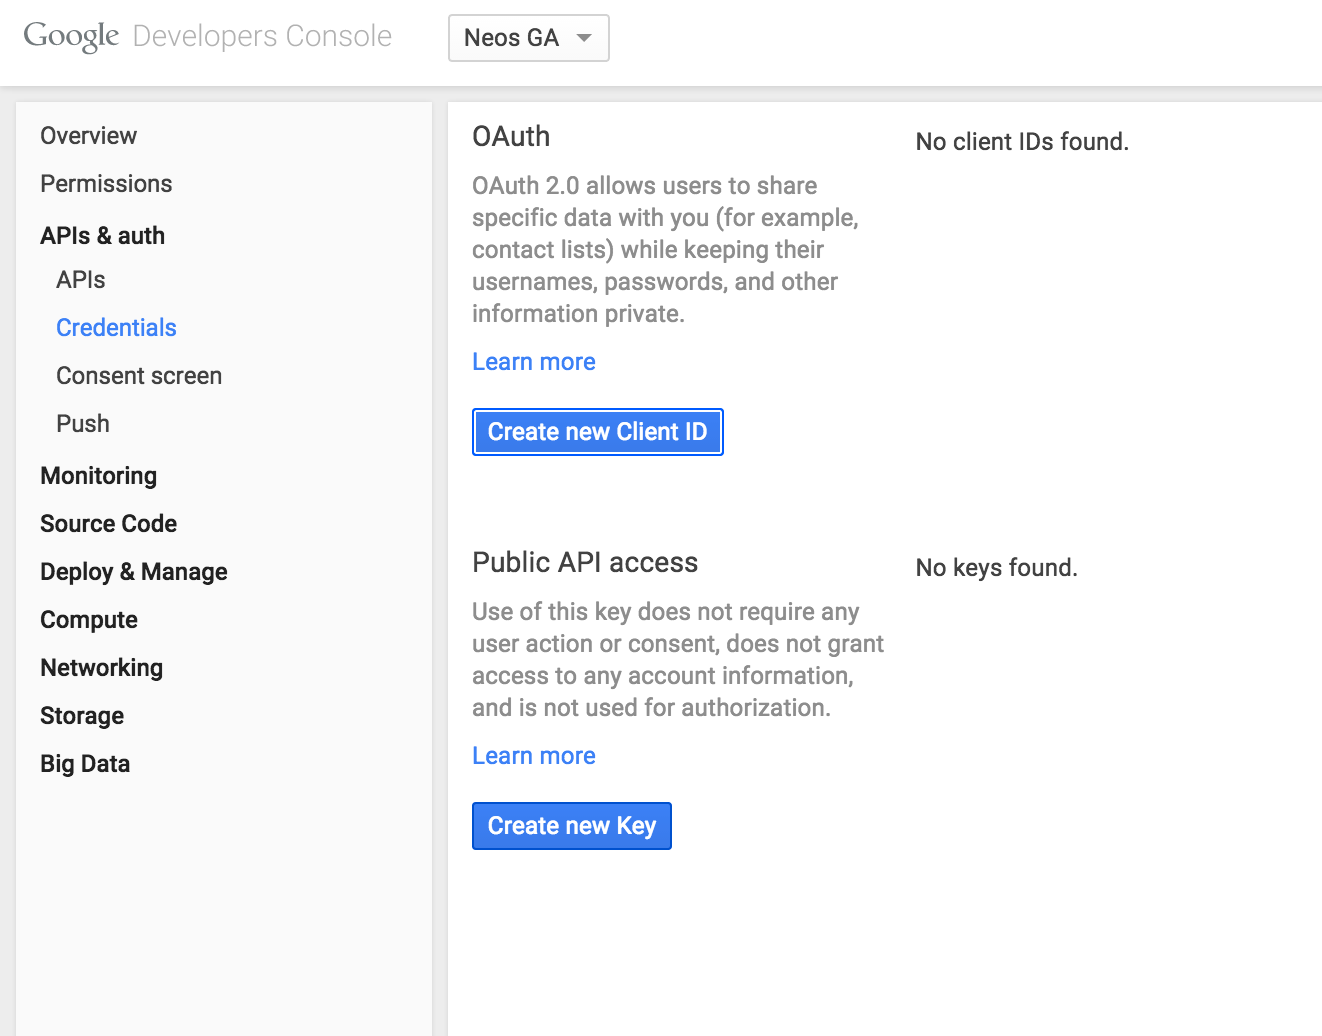
Now you need to create credentials for the integration. To do this, click on Credentials in the navigation, then Create new Client ID.
Here you need to fill in the domain of your site and must define an Authorized redirect URI. It has to be your domain again, followed by:
/neos/administration/googleAnalytics/authenticate
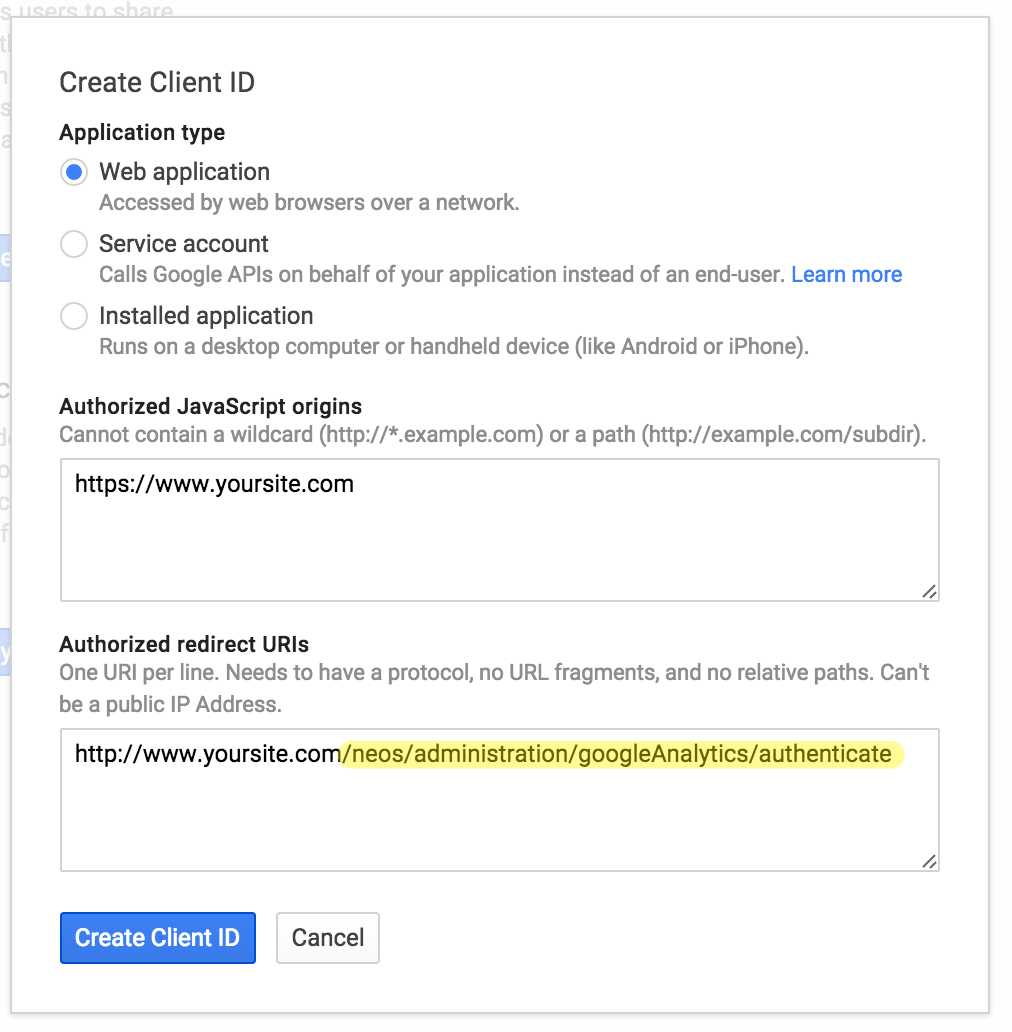
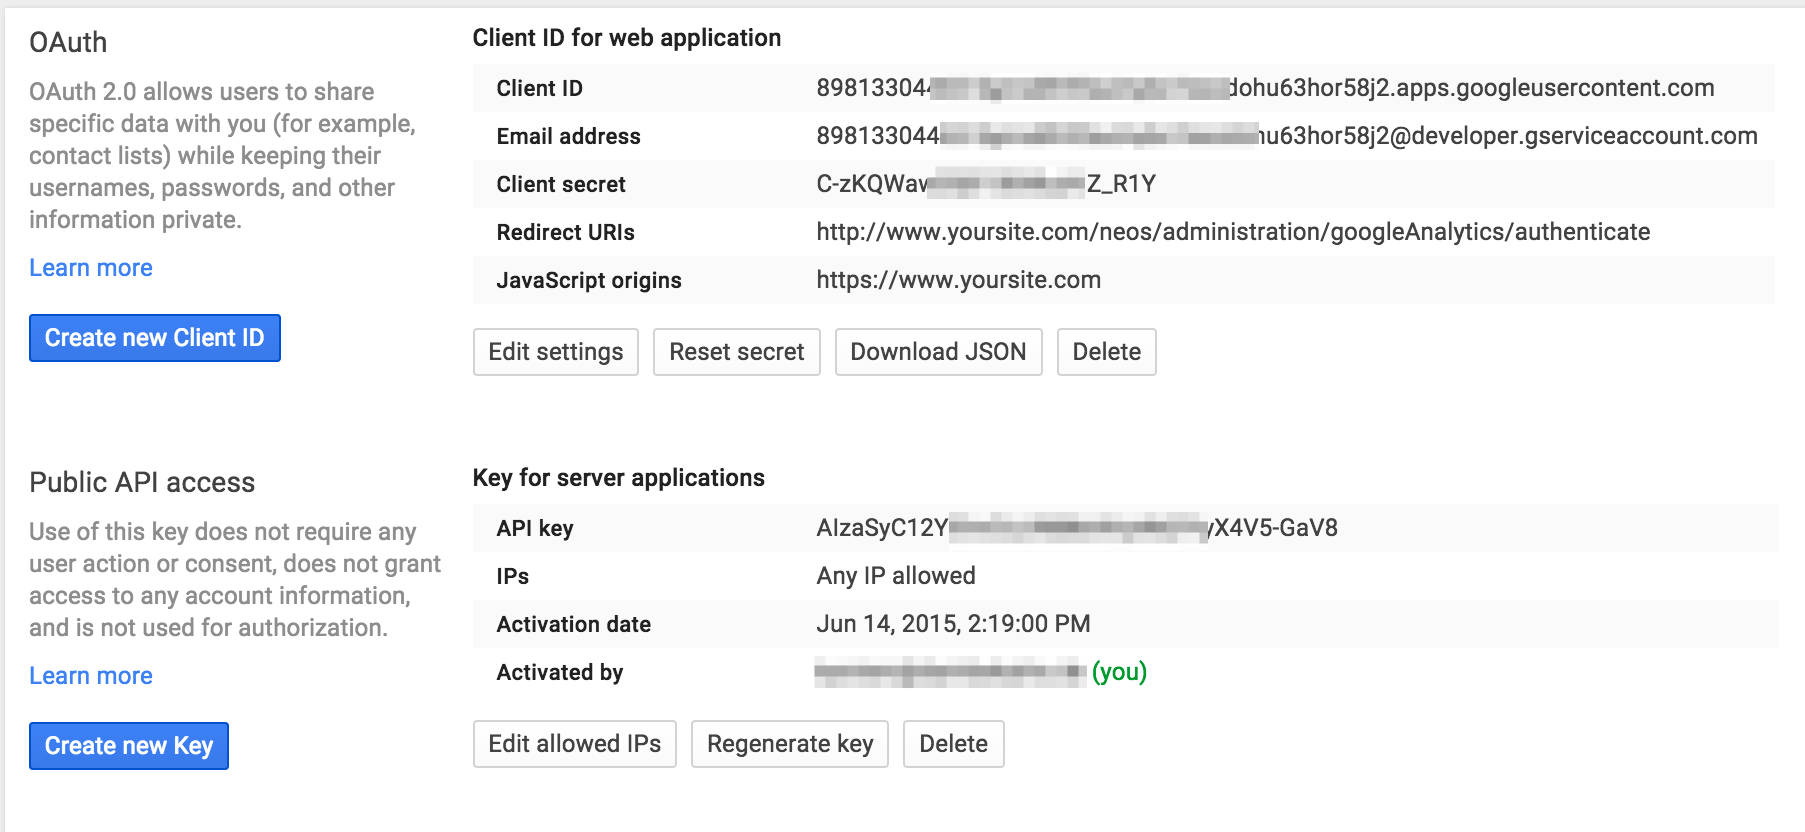
Then click Create Client ID. Next create a new public API access key by clicking on Create new Key. In the following dialog, click Server key.

Now define allowed IP addresses, if you like, and click Create.
Your credentials overview should now look like this:
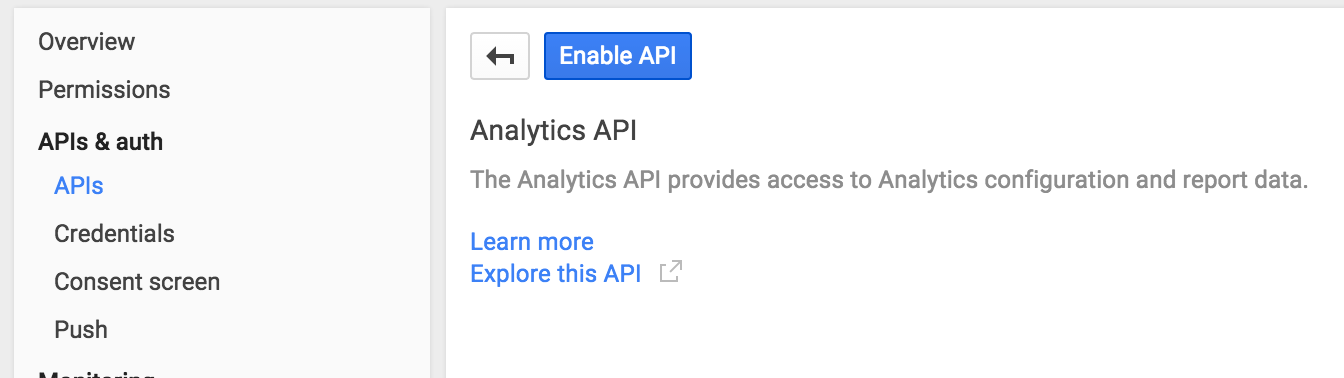
The last step in the Developers Console is to make sure the Google Analytics API is enabled. Click on APIs in the left navigation and enter “Analytics” in the search field.

Click on the Analytics API link and on the following page on Enable API.
With the data from the credentials overview screen you can now configure the Neos integration, just fill in the blanks:
TYPO3:
  Neos:
    GoogleAnalytics:
      authentication:
        # Application name for the consent screen
        applicationName: 'Neos GA'
        # "Client ID" of the OAuth 2.0 "Client ID for web application"
        clientId: ~
        # "Client Secret" of the OAuth 2.0 "Client ID for web application"
        clientSecret: ~
        # "API Key" of the Public API access credential "Key for server applications"
        developerKey: ~
Now go to the Analytics module in the Neos user interface.
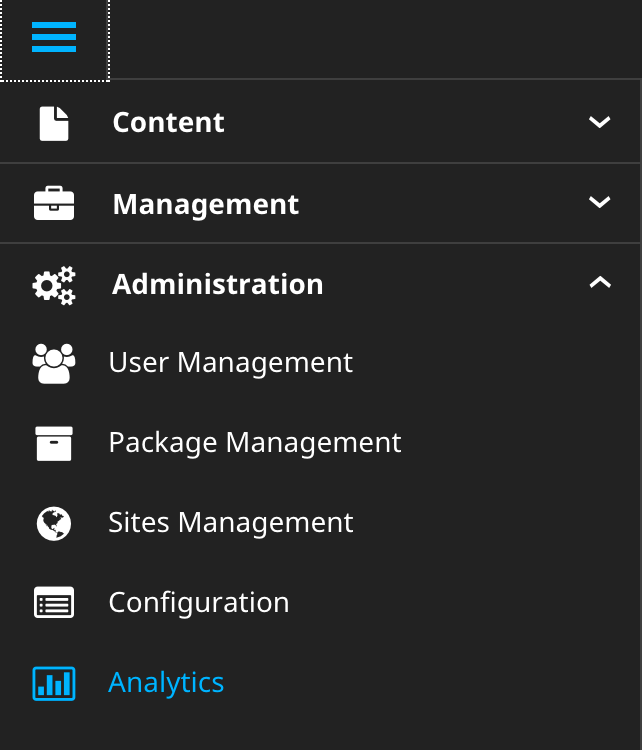
You will see a button to connect your Neos instance to a Google account.
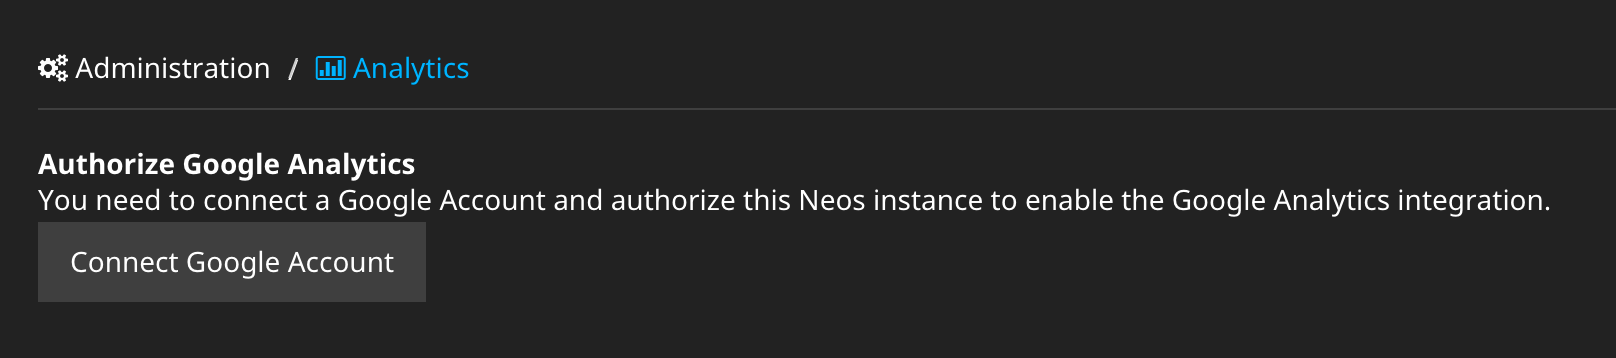
Click it and you will be redirected to Google, showing you your consent screen and asking for offline read access to Google Analytics data. Agree and you will be redirected back to Neos:
Now the integration is set up to fetch data and display the Analytics statistics in the Neos user interface.
Assigning tracking IDs
To actually track visits with Google Analytics, some JavaScript with the tracking ID has to be included in the markup. You can do this manually in your template, but the easier way is to set up tracking IDs for each site in the Analytics integration.
This can be done in two ways. The first is via settings and allows for versioning the settings and easy deployments:
TYPO3:
  Neos:
    GoogleAnalytics:
      sites:
        ## All site specific settings are indexed by site node name
        neossitename:
          trackingId: 'UA-XXXXX-YY'
          profileId: '12345678'
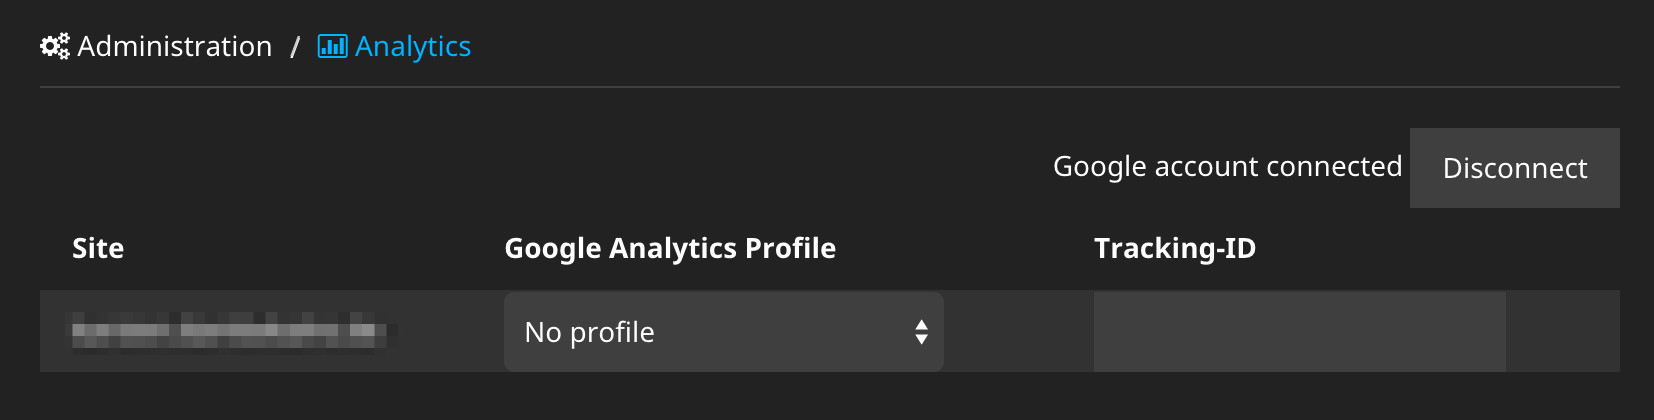
The second way is to use the Analytics module in the Neos user interface to select
an Analytics property for each site (the profileId from the settings above) and
configure a tracking ID.
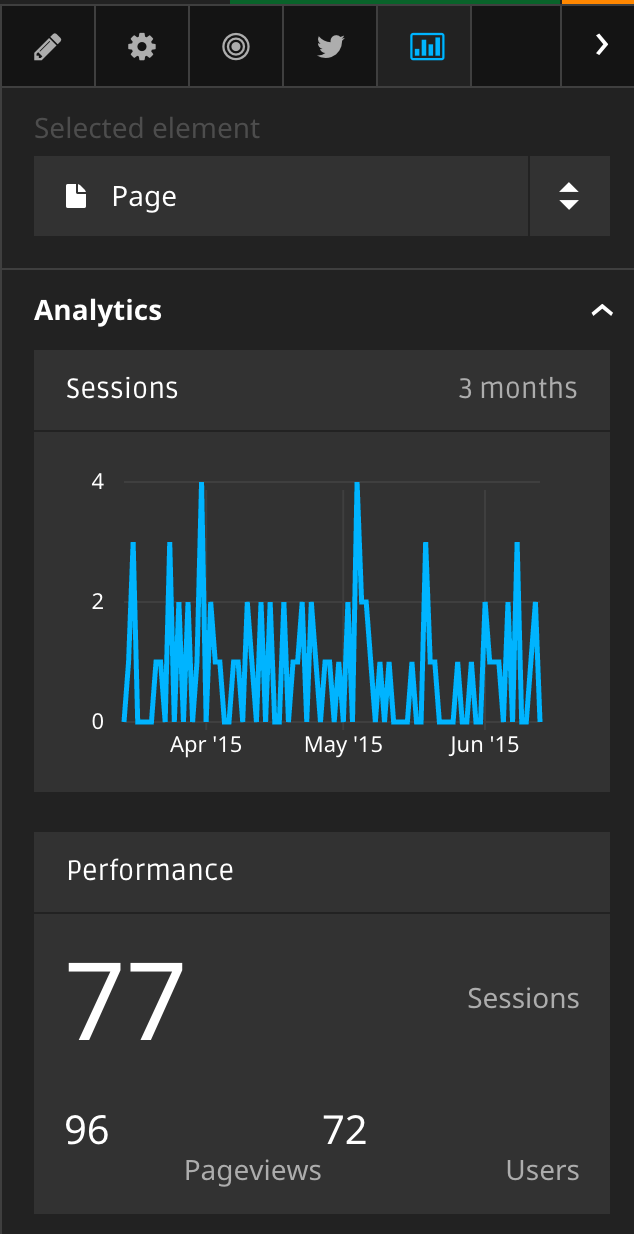
Usage
If Google has collected statistical data for your site, you will get the most important data shown in an inspector tab for documents:
Customizing metrics display
Its is possible to adjust the displayed metrics through configuration. The package
comes with preconfigured data, examine NodeTypes.yaml and Settings.yaml.